Posted in
Made for Me
by Nichole {Nee}
|
Supplies Needed:
PSP X2 (any version will work)
Tube of choice
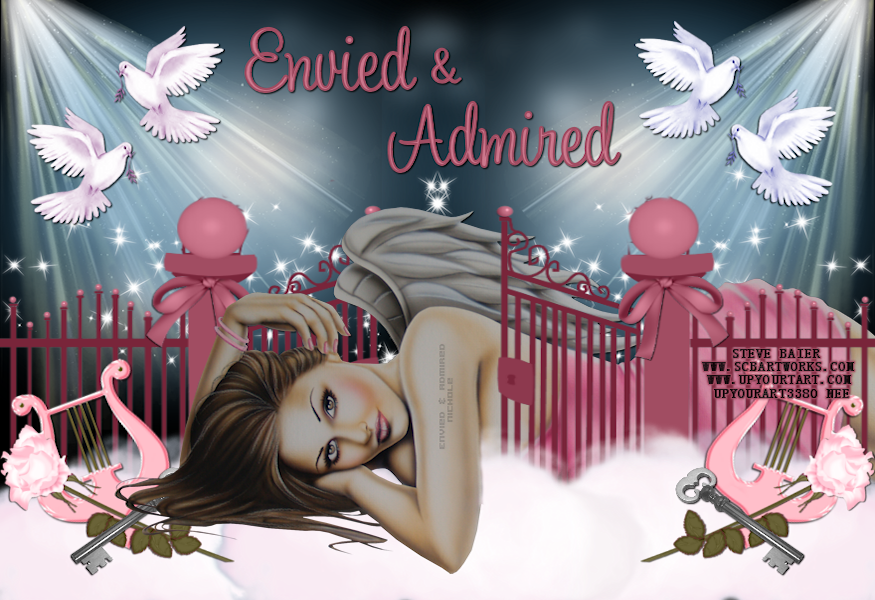
I am using the beautiful artwork of Steve Baier which you can purchase at upyourart
Tag Template # 69 from Rachel her blog is HERE
Mask 220 from Weescotlass (i have supplied).
Font of choice.
I used A&S Rister & Century Gothic
Plugin used Eye Candy 4000-Gradient Glow
Supplies HERE
Lets Get Started:
Open your supplies minimize all but the tag template.
On the tag template delete the copyright and the pink stars and the black stars layers
Resize canvas to 800x800
With your magic wand click on the black layers and the pink layer make sure you have running
ants on everything top and bottom.
Selections Modify Expand by 2
Take the stairway picture resize 650x650
Copy, back to the template Paste as new layer
Position how you like it
Selections, Invert, Delete.
Selections None
Rename layer as stairway
Delete black and pink layers
Duplicate Stairway layer
On duplicated layer Adjust, Blur, Gaussian Blur setting 3
Change blend mode to Soft light
Back to the Stairway picture:
Layers, new mask layer, from image,
source luminace should be checked,
select mask and hit ok
delete mask layer, merge group,
copy and paste as new layer on template
Layer send to bottom and position as liked.
Select the layer called GreyStrip,
Selections, Select All, Float, Defloat,
New raster layer, flood fill with #9fb6d1,
Selections None, Effects, Plugins, Eye Candy 4000
Gradient Glow
Settings:
Glow width: 3.00
Soft Corners: 25
Overall Opacity: 100
Draw Only Outside Selection is checked off
Click on Color Select Fat, Hit ok
Rename layer, Delete GreyStrip
Add Dropshadow: 1,1,30,3.00
Open your tube and resize place on the left
Duplicate, Image, Mirror, Merge Down when happy with placement.
Dropshadow 2,2,30,3.00
New vector layer
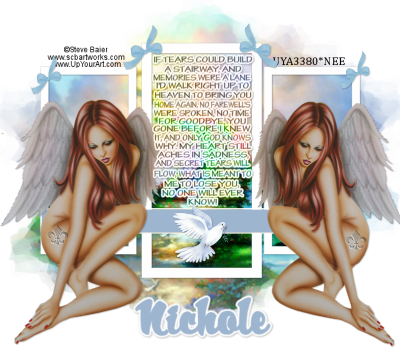
Using Century Gothic Font 16 px I typed out the poem which can be found HERE
Or poem of choice. Position in middle, when happy convert to raster
duplicate, on duplicated layer Adjust, Blur, Gaussian Blur 3, blend mode Soft light,
Effects, Gradiant Glow same settings.
Take the dove and copy, paste as new layer, position like mine or as you like.
Same with the bow.
Add your name, I used A&S Rister color#9fb6d1, Stroke width 2,
Place where you like or as mine, Convert to raster, Add Gradient Glow same settings.
Drop Shadow 1,1,30,3.00
Add proper copyright and license info
Merge visible
Resize or crop if desired
Thank you for trying my very first tutorial. xoxo, Nee
Posted in
Tutorials FTU
by Nichole {Nee}
|