This awesome tag was made by Shani her tutorial can be found HERE
I love this and you used my favorite color...lol thank you girlie i appreciate it.
Posted in
Made for Me
by Nichole {Nee}
|
Sher from Young At Heart gave me my first award.
I'm thrilled that you thought of me hun.
Thank you so much.
The rules are - Put the name and link of who gave you this award on your blog.
Then pass it on to 10 blogs which you think deserve it.
My Top 10 are....
Kali at Young at Heart
Alyssa at Alyssa's Tutorials
Shani at Wicked Princess Tutorials
Kristen at Wicked Scrapz
Yvette at Essence of Creativity
Kittz at Kittz Kreationz
Missy at Divine Intentionz
Ali at Designs by Ali
Vix at VixPSP
Jessica at Scraps by Jessica
Thank you Shani also from Wicked Princess Tutorials
Posted in
Awards
by Nichole {Nee}
|
Thank you Nita. I love it.

Posted in
Made for Me
by Nichole {Nee}
|
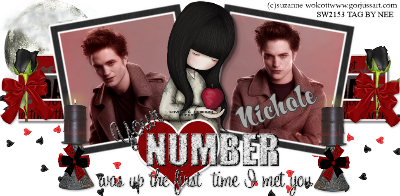
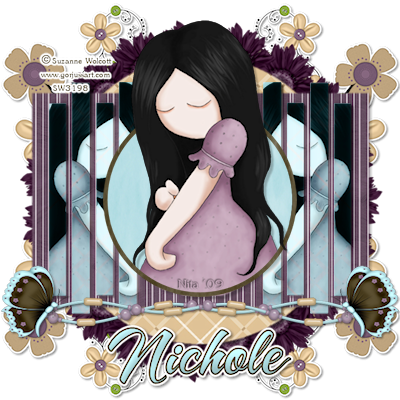
Supplies Needed:
PSPX2
Twilight Template 4 by Yvette
Twilight kit by Missy you can purchase at Scraps with Attitude
Gorjuss art by Suzanne Wolcott you can purchase and obtain a license HERE
2 pictures of choice
Font: A&S Rister
Plugins: Eye Candy 4000 Gradient Glow
Let's Begin:
Open template, delete copyright, white layer, and wordart(unless you intend to use)
Resize 155% *Make sure all layers is checked off*
Select the backgrounds layer, Selections, Select All, Float, Defloat
Paste Paper 9 as new layer
Selections, Invert Delete
Take your magic wand click inside frame, selections, modify, expand by 3
Paste your pic as new layer, free rotate right 15, Invert, delete, change blend mode to Screen, Selections None
Repeat for other side, this time rotate left
Select frames layer, Selections, Select All, Float, Defloat
Paste Paper 8 as new layer, Selections, Invert, Delete
Selections None
Apply gradient glow
Settings:
5.00
35
100
Color Select Fat
Rename layer, delete orginal
Rectangle 1, Selections, Select All , Float, Defloat
Paste Paper 17, Resize 125%, Selections. Invert, Delete
Selections None
Apply Gradient Glow, Change first number to 3, hit ok
Apply Dropshadow, 5,5,35,5.00
Repeat for Rectangle 2 with Paper 18, Dropshadow 2,2,45,2.00
Repeat for heart with Paper 13
Paste Twilight Words 1 as new layer, Resize by 65%, Position like mine
Paste your tube as new layer, beneath wordart and heart layers
Dropshadow, 7, 7, 35, 6.00
Paste tall candle as new layer, Resize 35%, Position to the bottom right of frame, Duplicate layer, Image, Mirror, Merge Down
Dropshadow, 2,2,35,5.00
Paste Double Bow 2 as new layer, Resize 15%, Position on candle, Duplicate, Image mirror
Paste moon as new layer, Resize 35%, Send to bottom, Postition to the left as mine is
Paste Elegent Bow 2 As new layer Resize 35%, Position as mine, Duplicate, Image, Mirror, Merge Down, Dropshadow
Paste Black Rose as new layer, Resize 35%, position under bow, duplicate image mirror
Paste twilight Glitter hearts as new layer Resize 55%, Send to bottom, Position bottom left, duplicate image mirror
Apply license and copyright info
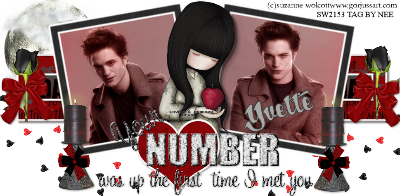
Apply your name
Foreground:404040
Background: aaa9a8
Stroke width 2
72px
Free rotate left 15 and position as mine.
Resize as desired. Save as .png
Thank you for trying my tutorial XoXo, Nee
For Yvette
Thank you for the beautiful templates
Posted in
Tutorials PTU
by Nichole {Nee}
|
I love this Nita. Thank you!! He gives me goosebumps....lol
Posted in
Made for Me
by Nichole {Nee}
|
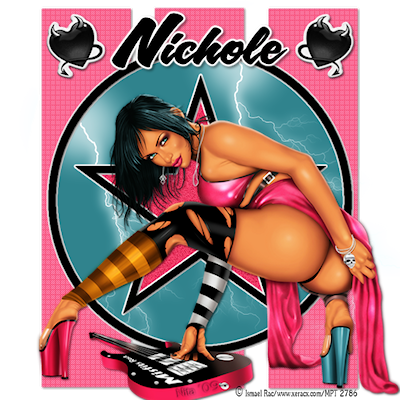
Made by Nita with my Template 2. This is awesome hun. I love my rockin' tag. xoxo!!
Posted in
Made for Me
by Nichole {Nee}
|
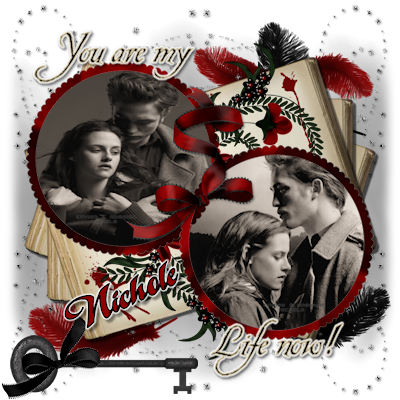
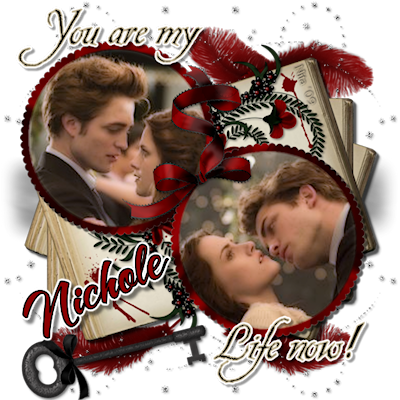
Supplies Needed:
PSPX2(any version should work)
Twilight Scrapkit Created by Jill you can purchase at Scraps With Attitude
2 pictures of choice
Plugins: Eye Candy 4000 Gradient Glow
Fonts: Be Safe & a&s Graceland
Lets Begin:
Open new raster 700x700
Paste book as new layer. Duplicate twice.
On bottom layer free rotate left 18
On top layer free rotate right 18
Paste frame 8 as new layer, resize 65%, position to the top left, duplicate, mirror.flip
Take your magic wand select inside first frame, selections, modify expand 3
Paste your picture as new layer align in circle, selections, invert, delete on keyboard
Selections, None
Apply Dropshadow 5,5,60,3.00
Repeat for other frame
Paste mist as a new layer send to bottom, Apply dropshadow same settings
Paste sparkles as new layer, position top right above mist layer
Duplicate image mirror
Merge Down
Duplicate image flip
Merge down
Dropshadow, 2,2,45,5.00
Paste flower 3 as new layer, position under frames and pictures as mine is
duplicate, flip and position between frames like mine
Paste bow 12 as new layer, resize 55%
position top of frames in the middle, dropshadow keep settings
Paste key as new layer, flip, image free rotate left 90
Paste bow 4 as new layer, resize 45%
Position on key
Paste feathers as new layer resize 45%, position as desired
New vector layer, arrange at top, type out You are my
Font: Be Safe 72px
Foreground: c8bc9f
Background:161514
Stroke width 2
Convert to raster
Apply gradient glow settings: 3,25,100----Color select fat
Apply dropshadow 4,4,403.50
Position on top of frame left side
Repeat for Life now!
Type your name:A&S Graceland font, 72px
Foreground:000000
Background:8b0001
Stroke width 2
free rotate left 25
Convert to raster apply gradient glow keep settings
Dropshadow 5,5,50,5.00
Merge visible, resize if desired. Save as .png
Thank you for trying my tut. I had fun with this kit it has endless possibilities....lol
XoXo, Nee
Posted in
Tutorials PTU
by Nichole {Nee}
|
Thank you girl for doing all my tutorials. It means alot. You so Rock!!! lol I love them both.

Posted in
Made for Me
by Nichole {Nee}
|
Posted in
Made for Me
by Nichole {Nee}
|