Tutorial written by me on 5/9/09
Supplies Needed:
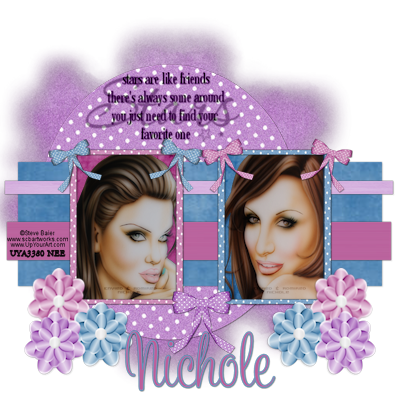
Tag Template 1 made by Me :)
Kit by Lisa's Designs "Pastel Me Pretty" can be purchased at Scraps With Attitude
Artwork by Steve Baier you can purchase at UpYourArt
Word Art by Missy Called Stars at Divine Intentionz
Mask of choice
Plugins: Xero Porcelain
Font: Sweetheart Script
Lets Begin:
Open my template
Delete copyright and background
Select the Circle layer, Selections, Select all, Float, Defloat, Paste Paper 2 as new layer, Resize by 175 %, Selections, Invert, Delete on keyboard, Selections, None, Rename layer and delete original
Repeat for square, using paper 4, Resize 225%, Apply dropshadow 1,1,35,5.00, Selections None
Strip 2, use paper 8, Selections, Select All, Float, Defloat, Edit, Paste into Selection, Apply dropshadow, same settings, Selections None
Repeat for Strip 1 using Paper 12
Repeat for photomat1 using Paper 6, photomat 2, use Paper 4
Frame 1 use Paper 3, Frame 2, use Paper 1
I replaced the flower layers with flowers from the kit, paste as new layer, position as mine, merge down, apply dropshadow, duplicate, image mirror
Photomat1, selections, select all, float, defloat, paste your tube as new layer, selections, invert, delete, Selections None
Dropshadow. 3,3,35,5.00
Duplicate tube layer, on dup layer, adjust blur, gaussian blur 5.00, Blend mode, Soft light
Original layer, Effects, Plugins. Xero, Porcelain, default settings,
Repeat for other side using a different tube or Mirror yours
Paste bow 3 as new layer, Resize 35%, position to right side top on frame 2,free rotate right 18, apply dropshadow 1,1,60,3.00, duplicate and place on other side frame
Repeat for Bow 1, positioning on the left of frame 1, rotating left 18
Paste Bow 2 as new layer, Resize 50%, position in bet. both frames to the bottom, apply dropshadow
Paste wordart as new layer position on circle, Change blend mode to Luminance (L), Apply dropshadow
Open mask and paper 5, On paper 5, layers, new mask layer, select mask, ok, delete mask layer, merge group, paste as new layer, resize if needed and position as desired send to bottom
Apply license & proper copyright
Thank you for trying my tutorial. XoXo, Nee
Posted in
Tutorials PTU
by Nichole {Nee}
|

Supplies Needed:
Template 7 by Alyssa
Scrapkit by Creative Intentionz called "Crossed Emotions you can purchase at Paradise4Scrappers
Tube of Choice: I am using Steve Baier you can purchase Here
Plugins Mura Meister Copies
Font used A&S Snapper Script
Lets Begin:
Open Template, Delete copyright layer and Pink Background
Select the rectangle layer, Selections, Select all, Float, Defloat,
Paste Paper 1 as new layer, Selections, Invert, hit delete on keyboard,
Effects Dropshadow, 4, 4, 25, 4.00. Rename layer, delete original layer
Repeat for bars right and left adding Paper 12
Repeat for Big Circle layer using paper 10
Repeat for small circle using Paper 8, DO NOT APPLY DROPSHADOW
Small Frame & Big Frame use paper 7, no dropshadow.
Paste flower 1 as a new layer, resize by 35%, Apply Mura Meister Copies with these settings,

Move layer down between the big circle and frame. Stretch to cover frame if needed.
Select the bars on the left, Selections, select all, float, defloat,
Paste tube as new layer, positon as desired, selections, invert, delete.
Duplicate tube layer.
On duplicated layer, Adjust, blur, gaussin blur 5.00, Change blend mode to soft light
On original tube change blend mode to luminance (L), dropshadow 2,2,35,2
Repeat for right side
Paste tube as new layer, duplicate, move duplicated layer under small frame,
Apply dropshadow 6,6,25,4.00
Erase all that hangs over frame on both layers
Paste bead 3 as new layer, position as mine, duplicate, image mirror
Paste butterfly 3, resize 35%, position on left end of beads, duplicate, image mirror, merge down, apply dropshadow
Paste flowerdoodle4 as new layer, resize 55%, position top left corner
Duplicate image mirror, merge down,
duplicate image flip, merge down apply dropshadow
Apply license & copyright
Add name foreground color:4b3f20
Background color:c9f9fb
stroke width 2, font size 72
position like mine or as desired. Apply dropshadow
Merge visible, resize if needed. save as a .png
Thank you for trying my tutorial
XoXo, Nee :)
Posted in
Tutorials PTU
by Nichole {Nee}
|
My first tutorial for the Paradise4Scrappers.
Supplies Needed:
PSP X2 & Animation Shop
Tube of Choice I am using Suzanne Wolcott's Gorjuss you can purchase HERE
The Renewal Kit from Pim'd Dezigns you can purchase at Paradise 4 Scrappers
Vix Valentine Mask 13 & Vix Mask 17 HERE
Picture of choice
Plugins: Eye candy 4000 Gradient Glow & HSB Noise
Font used TheNautiGal
Lets begin:
Open heart frame
Canvas resize 800x800 px
Take your magic wand select inside open part of the heart,selections,modify expand by 2
Paste picture as new layer, selections,invert,delete,selections none
Duplicate picture, on duplicated layer, adjust, blur, gaussin blur 3, change blend mode to soft light
On original picture, effects, photo effects, black and white
Layers merge visible
Dropshadow 4,4,35,4.00
Place your tube like mine, dropshadow keep settings
Open Vix mask 13 and paper 12
On paper, layers, new mask layer, from image, scroll to mask, ok, delete mask, merge group, paste as new layer, send to bottom, resize postion as desired.
New Raster, pick two colors from your tube, Darker one for the foreground, On your foreground go to gradients, find the foreground, settings,angle 65, repeat 3,
Flood fill, send to bottom, layers , mask, delete mask, merge group, postion as desired, opacity 61
Type out your phrase or use mine with 2 colors to match your tube. stroke width on 2
Free Rotate 45 if putting on heart or position as desired. Dropshadow, then apply gradient glow, change first number to 3 select fat under color, dropshadow again
Apply license number, copyright, Your name. Resize as desired.
Animation:
New Raster, Flood Fill White, Send to bottom
Duplicate Mask 13 layer (the black hearts) twice, you should now have 3 layers.
On original layer go to Eye Candy 4000- HSB Noise
Settings
25
30
40
0
28
28
Smooth Lumps
Seamless Tile Checked
Random Seed Hit button Once
Now do the same for the other 2 layers, but hit random seed twice and three times
Hide the 2 duplicated layers, Edit, Copy Special, Copy Merged,
Go to Animation shop press ctrl, v
Back to PSP
Hide the original brush layer, unhide second
Edit, Copy Special, Copy Merged
In animation shop go to Edit, paste after current frame
Repeat for the next layer
Animation shop:
Edit Select All, Animation, Frame properties 25, View animation
Make sure you save as a .gif so it stays animated
Thank you for trying my tutorial. If you send me your examples please resize to 400x400.
XoXo, Nee
Posted in
Tutorials PTU
by Nichole {Nee}
|
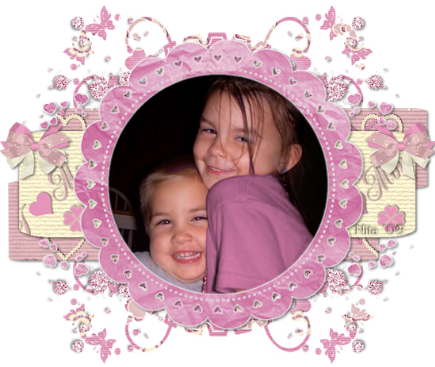
I got a wonderful pressie from my girl Nita. She is the best!!! Thank you so much. This was the sweetest surprise and it means the world to me!!
These are my beautiful babies, my life, the reason I breathe
Posted in
Made for Me
by Nichole {Nee}
|
My girl Nita made me this beautiful tag! Thank you!!!
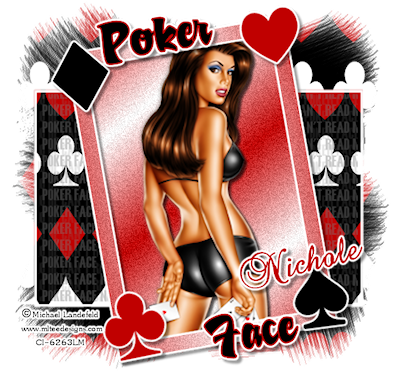
Nita's Take 2....lmao...I love it. Thank you for doing all my tuts!!
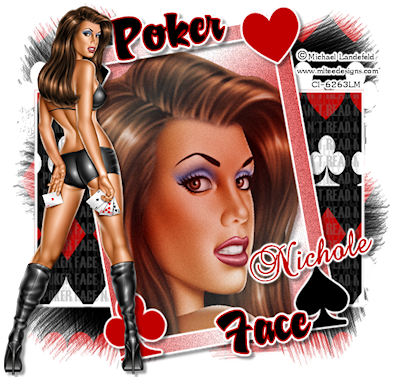
Made by Alyssa. Thank you girl I love it!!!

Posted in
Made for Me
by Nichole {Nee}
|
I have been asked to be on the Creative Team for Paradise 4 Scrappers. I am so excited. Be on the lookout for some new tuts with their beautiful scrapkits. If you haven't checked out their store you should. They have some wonderful designers.

Posted in
Announcements
by Nichole {Nee}
|