Heather used my "Royalty Kit"
Thank you hun this is too cute.

This one is made by Lollipop Girl using my "4th of July" Kit. Thank you hun

Posted in
Made for Me
by Nichole {Nee}
|

This one was made by Nita.
She Rocks....lol
Thank you my honey I love it!!
This one was mady by Alyssa
Make sure to check out her page for the tutorial her link is on the side
I love my tags girls thank you both!! Big Hugs!!!
Posted in
Made for Me
by Nichole {Nee}
|
Made by Shani with my "4th of July" FTU kit. Make sure to check her tutorial at Wicked Princess Tutorials. Thank you hun. I love it.
Posted in
Made for Me
by Nichole {Nee}
|
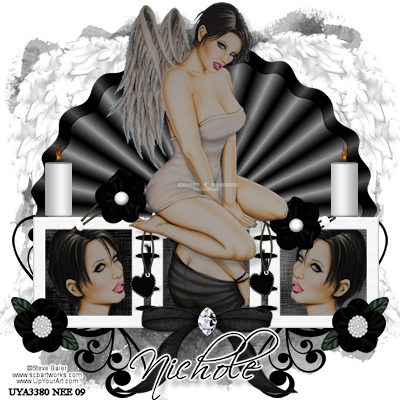
Supplies Needed:
PSP X2
Artwork by Steve Baier you can purchase Here
"I have a dream kit" by Shellez Creations Here
Mask 254 from Weescotslass Here
Font: Scriptina
Lets Begin:
New raster 700x700
Paste the fan as new layer
Resize 70%
Paste frame 2 as new layer and position under fan
Erase strings from fan
Take the magic wand and click inside each square of frame
Selections Modify Expand by 5
Paste Paper 1 as new layer
Selections, Invert, hit delete on keyboard
Move under frame layer
Paste your tube as a new layer and position in each frame
hit delete on each layer
Paste pendant as new layer
Resize 75%
Position on top of frame in the center
Paste your full body tube as new layer
Resize 70% and position as mine
Paste bow 2 as new layer
Resize 45%
Position at the bottom of frame on the center square
Paste white candle as new layer
Resize 5%
Position as mine
Duplicate Image Mirror
Paste the white angel wings as new layer
Send to bottom
Paste gem 2 as new layer
Resize 55% and position on top of bow in the center
Paste doodle 5 as new layer
Resize 75%
Position bottom right below frame
Duplicate Image Mirror
Paste flower 3 as new layer
Resize 25%
Position as mine and duplicate image mirror
Open your mask and minimize if you havent already
Paste paper 12 as new layer
Send to bottom
Layers
New mask layer
From Image
Select your mask
Source luminance checked
Make sure invert is not checked!!
Hit ok
Delete the mask from your layer palette
Merge group
Apply copyright and license info
Type your name and position as mine or as desired
Save as .png for transparent background
Thank you for trying my tutorial
XoXo, Nee
Posted in
Tutorials PTU
by Nichole {Nee}
|

This beautiful tag was made by Alyssa using my Heaven Sent Kit. Please check out her tutorial HERE
These beautiful tags were made by Beth using my Rain or Shine and my Heaven Sent kit
Thank you both. I love my tags they are wonderful.
Posted in
Made for Me
by Nichole {Nee}
|

Yippee I got an award...lol Thank you Alyssa from Alyssa's Tutorials
Award Rules:
1. Add the logo to your blog
2. Link to the person from whom you recieved the award
3.Nominate 7 or more blogs
4. Leave a message on their blog letting them know they have one lovely blog!
The blogs I nominate are:
1.Wicked Princess Tutorials
2.So Tempting Scraps
3.Designs by Ali
4.VIXPSP
5.Divine Intentionz
6.Essence of Creativity
7.Young at Heart
Posted in
Awards
by Nichole {Nee}
|

My girl Beth made this beautiful using my "4th of July" FTU kit. Thank you so much. I love it.
Posted in
Made for Me
by Nichole {Nee}
|